Starting a blog with WordPress hosting in 2026 is honestly easier than you might think. You just need a domain name, a hosting account, and maybe half an hour to an hour to get a basic site live.
The tech part isn’t that scary anymore. What actually matters most is picking the right platform, the right host, and setting things up smartly from the start.
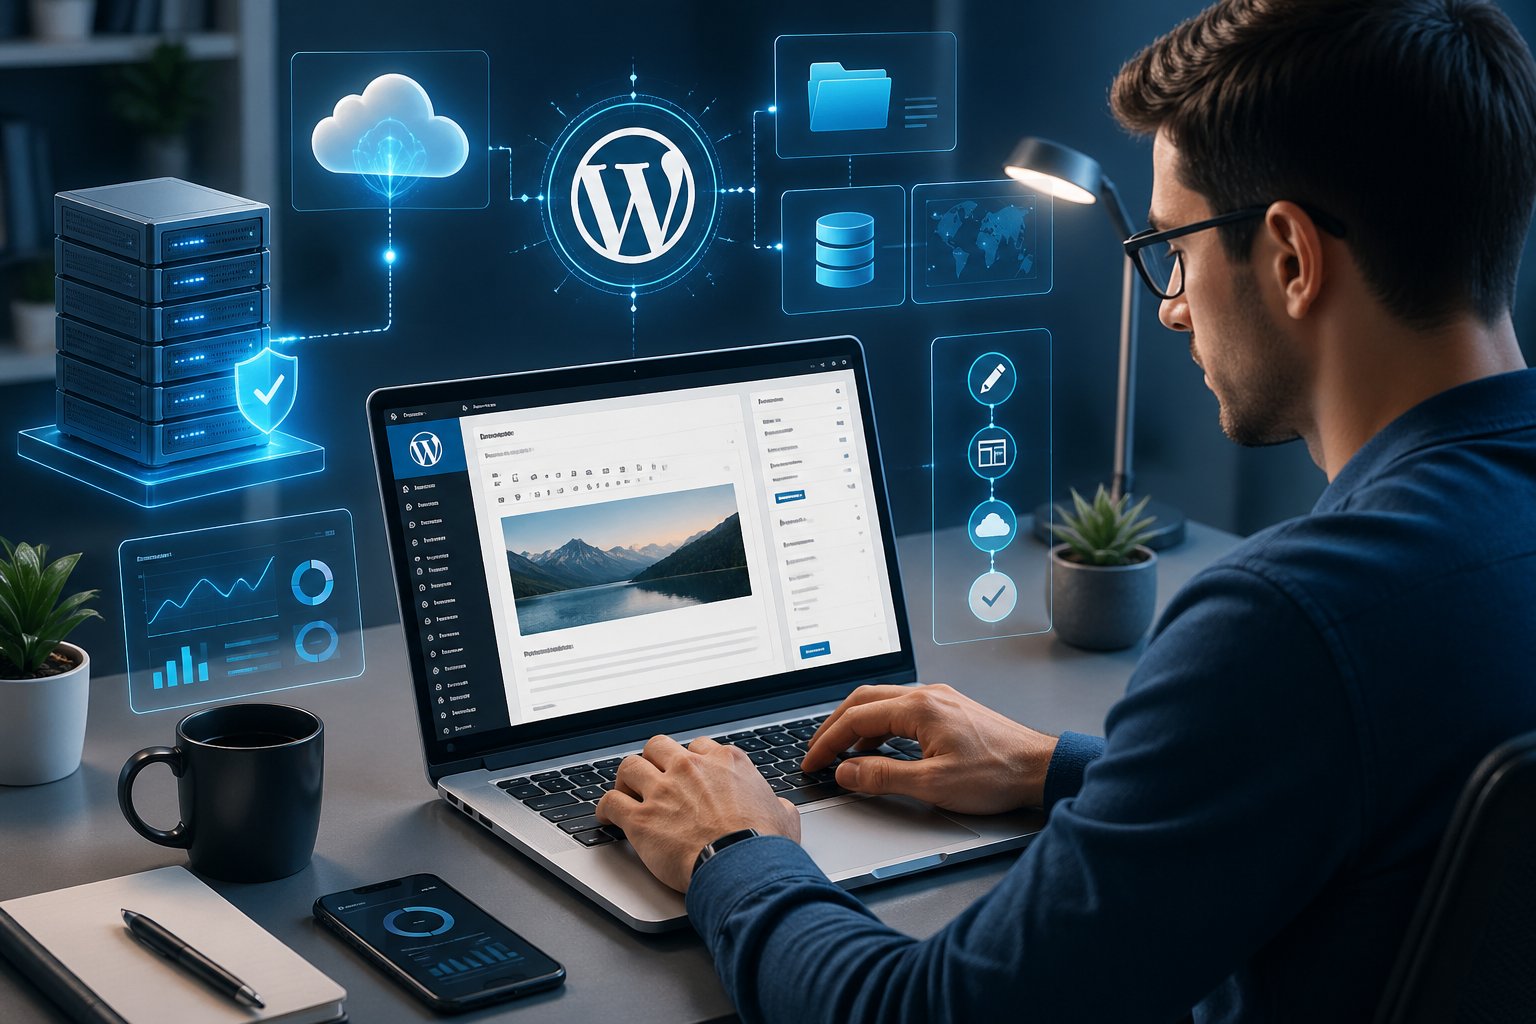
The biggest mistake new bloggers make? They start on the wrong platform, and that limits how much they can grow, make money, or even control their own site. This guide will walk you through the right order: platform, host, domain, install, settings, themes, plugins, your first post, and some basics for early monetization.
Whether you’re building a personal blog, a niche site, or something for your small business, these steps work for all of those.
Key Takeaways
- Self-hosted WordPress on WordPress.org gives you full ownership and the most flexibility for growth and monetization.
- Your hosting provider and domain name are the first real purchases, and you can usually get both in one step with most beginner-friendly hosts.
- You only need a handful of plugins for SEO, security, backups, and performance to get started confidently.
Choose the Right WordPress Setup
Before you buy hosting or pick a domain, you need to get clear about one thing: WordPress.org or WordPress.com? They sound similar but they’re totally different. Picking the wrong one can box you in later.
Let’s look at what you should know before you sign up for anything.
WordPress.org vs WordPress.com
WordPress.org is free, open-source software you install on your own hosting. WordPress.com is a paid service that hosts the software for you under their plans.
Here’s a quick comparison:
| Feature | WordPress.org | WordPress.com |
|---|---|---|
| Hosting | You choose and pay separately | Included in plan |
| Custom domain | Yes (with any plan) | Paid plans only |
| Plugin access | Full access (50,000+ plugins) | Limited by plan |
| Monetization | Fully unrestricted | Restricted on lower plans |
| Site ownership | 100% yours | Subject to platform terms |
| Cost structure | Hosting + domain (~$3–$15/month) | Subscription tiers |
Why Self-Hosted WordPress Is Best for Most Blogs
Self-hosted WordPress lets you control everything—your content, your site’s look, plugins, and how you make money. You don’t have to worry about surprise pricing changes or weird restrictions popping up.
As WPBeginner points out, WordPress.org is free and open-source, and you actually own your site. If you’re serious about building an audience or making money, this is the way to go. WordPress.com is fine if you just want a simple journal, but it gets frustrating fast if you want to grow.
What You Need Before You Begin
You’ll need three things to get started:
- A domain name (something like yourblog.com)
- A web hosting account (where your site files live)
- A payment method and about 30 to 60 minutes
You don’t need to know any code or design, and you can do everything from your browser.
Pick Hosting and Register Your Domain

Hosting and your domain are really your first big steps (and purchases). Most of the time, you can get both from the same provider in one go. The “best” host depends on your budget, how comfortable you are with tech, and how much traffic you expect early on.
How to Choose a Web Hosting Provider
Here’s what I’d look for in a WordPress host:
- WordPress compatibility: Go for one-click WordPress installs and servers that are actually optimized for WordPress.
- Uptime reliability: 99.9% uptime is pretty much the norm—don’t settle for less.
- Support quality: 24/7 support (especially live chat) is a lifesaver when you hit a snag.
- Renewal pricing: Watch out for big jumps after your first year. Always check the renewal rates.
- Free domain inclusion: Lots of hosts throw in a free domain for the first year—nice for saving a few bucks.
Best WordPress Hosting Options for Beginners
Here are the hosts I see recommended most for new bloggers in 2026:
Bluehost is super beginner-friendly. It’s affordable, you get a free domain for the first year, and WordPress installs itself. WordPress even officially recommends them.
SiteGround is a bit pricier but has great support and fast servers. If you care about speed and help, it’s worth a look.
Hostinger is the cheapest option here, with plans under $3 a month. Their tutorials make getting started painless.
DreamHost is cool if you want to pay month-to-month with no contracts. Handy if you don’t want to commit long-term yet.
Cloudways and Pressable are managed WordPress hosts for folks who want more performance but don’t want to mess with server stuff. They cost more, but handle the technical bits for you.
Honestly, if you’re brand new, Bluehost or Hostinger cover everything you need at the lowest price.
How to Choose a Domain Name
Your domain is your blog’s address forever, so pick carefully. Here are some tips:
- Stick with .com if you can—people trust it and remember it.
- Shorter is better (aim for under 15 characters).
- Avoid hyphens and numbers—they’re just confusing.
- Make sure it’s easy to spell and say out loud.
- Don’t use trademarked names or another brand’s name.
If your first pick is taken, try adding words like “blog,” “guide,” or your main topic. Most hosts will give you the domain free for the first year if you register during signup. After that, expect to pay $15–$20 a year.
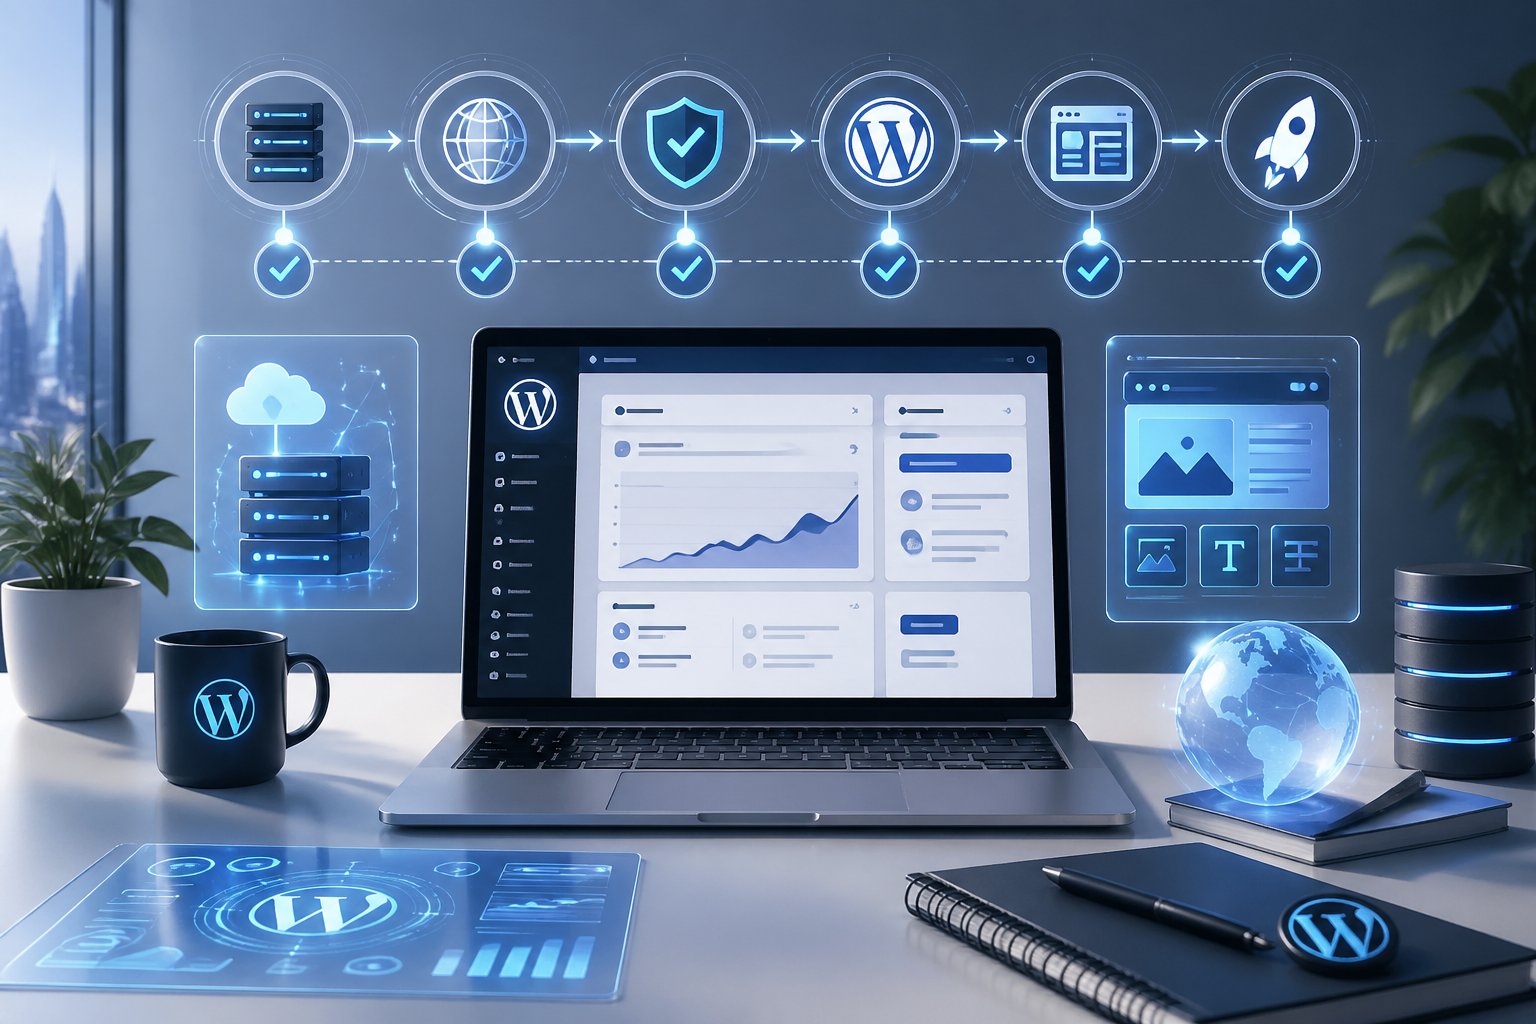
Install WordPress and Access Your Dashboard
Installing WordPress is the part that freaks out a lot of beginners, but honestly, it’s super easy now. Most hosts have made this a five-minute job. You’ll either get a one-click install or, if you’re unlucky, a manual process.
One-Click WordPress Installation
Just about every major WordPress host has some version of automatic or one-click install. With Bluehost, it’s literally done for you as soon as you finish signing up. On SiteGround, Hostinger, DreamHost—it’s right there in their dashboards or cPanel.
Here’s how it usually goes:
- Log in to your hosting control panel.
- Look for the WordPress installer (sometimes under “Website,” “Softaculous,” or just “Install WordPress”).
- Pick your domain, set your admin username and password.
- Click install and wait a minute or two.
That’s it. Your site’s live at your domain when it’s done.
Manual WordPress Installation Basics
Honestly, you almost never need to do this in 2026, but if you must: download WordPress from WordPress.org, upload the files with FTP, create a MySQL database, and run the setup wizard at yourdomain.com/wp-admin/install.php.
This takes about 15–30 minutes and you’ll need to be comfortable with FTP and basic database stuff. Most beginners can skip this completely.
First Login to the WordPress Dashboard
Once WordPress is installed, head to yourdomain.com/wp-admin/ and log in with the username and password you just set. This is your WordPress dashboard—the control center for your whole site.
The left sidebar is where you’ll find everything: Posts, Pages, Appearance, Plugins, Settings, and so on. Click around for a bit before changing anything. Getting familiar now saves headaches later.
Set Up Core Blog Settings
Before you mess with themes or write your first post, take a few minutes to tweak some settings. This avoids SEO headaches and keeps your site organized from the start.
Site Title and Tagline
Go to Settings > General in your dashboard. Set your site title (what shows in browser tabs and search results) to your blog’s name. The tagline is a short description—most themes show it under your title.
Your site title should match your domain or brand. The tagline isn’t required, but it’s nice for SEO and first impressions. Try to keep it under 10 words.
Permalinks and Permalink Structure
Head to Settings > Permalinks and switch the setting from “Plain” to “Post name.” This gives you clean URLs like yourdomain.com/post-title/ instead of messy ones with numbers.
Post name URLs are best for SEO and just look better. Set this before you publish anything, because changing it later can break your links.
Categories and Tags
Categories and tags keep your content organized, which honestly makes life so much easier down the road. Head over to Posts > Categories and set up your main categories before you hit publish on anything.
Pick broad categories for your blog’s big topics. Tags? Those are for the details. Try not to go wild with either—three to six categories is plenty when you’re just starting out.
Choose a Theme and Design Your Blog
Your theme sets the vibe for your whole blog: layout, fonts, colors, all that good stuff. WordPress has thousands of free and paid themes. For a fresh blog, I’d say keep it simple—go for something fast, mobile-friendly, and easy to tweak.
How to Choose a WordPress Theme
Head to Appearance > Themes > Add New and check out what’s in the official directory. When you’re picking a theme, these things matter most:
- Mobile responsiveness: Your blog should look clean on phones and tablets without you having to fuss with settings.
- Load speed: Lightweight themes are just better. Skip the ones packed with animations or features you’ll never use.
- Active support and updates: Check the last update date. If it’s been abandoned for years, steer clear.
- Gutenberg compatibility: Make sure your theme works smoothly with the WordPress block editor.
Free vs Premium Theme Options
Free themes from the WordPress directory are a solid place to start. Astra, Kadence, and GeneratePress get used a ton, and they’re updated regularly.
Premium themes give you more design freedom and usually come with support. Divi and Elementor (which is actually a page builder you pair with a theme) are super popular if you want total control over the look. Expect to pay somewhere between $50 and $100+ for a premium license.
Honestly, a free theme works fine for most new bloggers. You can always upgrade your design later if you feel like it.
Using Gutenberg and Page Builders
WordPress comes with the Gutenberg block editor—it’ll handle most of your content formatting right out of the box. You can build layouts, add columns, drop in images, and style text without extra plugins.
If you want to get fancy with your design, page builders like Elementor or Divi can take things further. They’re great if you need custom landing pages or more complex layouts. But for basic blogging, Gutenberg is totally enough.
Install the Essential Plugins You Actually Need
Plugins add new features to WordPress, but loading up too many can slow things down and create headaches. When you’re launching, stick to the must-haves. According to this practical plugin guide for new bloggers, you only need a core set for SEO, security, backups, and performance.
SEO, Analytics, and Search Visibility Tools
Yoast SEO or Rank Math are must-installs for every WordPress blog. Both help you with titles, meta descriptions, and sitemaps. Lately, Rank Math’s free version has a bunch of extra features, and lots of bloggers prefer it now.
For analytics, Google Site Kit links your blog to Google Analytics and Search Console right from your dashboard. If you want more detailed reports, MonsterInsights is another good option.
Set up Google Search Console no matter which analytics plugin you choose. It’s free and shows you exactly how your blog shows up in Google.
Security, Backups, and Spam Protection
Wordfence or Sucuri cover your basic security needs—firewalls, malware scans, login protection. Wordfence’s free version is honestly enough for most people starting out.
For backups, UpdraftPlus is the go-to free plugin. It lets you schedule backups and save them to Google Drive or Dropbox. If you want real-time backups, VaultPress (part of Jetpack) is a paid upgrade.
Akismet comes with WordPress and catches comment spam. Just activate it with a free API key if your blog is personal.
Performance, Forms, and Growth Plugins
Your site’s speed matters for both SEO and your readers. WP Super Cache or LiteSpeed Cache (if your host uses LiteSpeed servers) handle caching. WP Rocket is the paid version with every performance feature you can imagine, like lazy loading and database cleanup.
For image compression, Smush or ShortPixel shrink your pictures automatically and keep them looking good.
WPForms is the easiest contact form plugin for beginners. The free version covers all your basic needs—no coding required.
If you want to build an email list, Constant Contact connects right to WordPress and helps you start collecting subscribers from day one. Honestly, starting an email list early pays off more than almost anything else.
Create Your Key Pages and Publish Your First Post
Once your settings, theme, and plugins are sorted out, you’ll need three basic pages plus your first blog post before you go public.
Create Your About, Contact, and Privacy Pages
Go to Pages > Add New and make these three:
- About page: Let people know who you are, what your blog’s about, and who it’s for. Keep it honest and a little personal—it’s usually one of your most-visited pages.
- Contact page: Add a WPForms form so people can reach out. It’s smart to include an email address too, just in case.
- Privacy policy: If you collect any data (even just analytics), you legally need this. WordPress gives you a Privacy Policy generator under Settings > Privacy—use it as a starting point.
Write Your First Blog Post
Open Posts > Add New to launch the block editor. Don’t stress about making your first post perfect. Just make sure it’s useful, clear, and actually helps your target reader.
Most strong first posts land between 800 and 1,500 words, stick to one topic, and speak to a specific person. Use your SEO plugin to check that your main keyword shows up in the title, intro, and at least one heading.
Format Content in the WordPress Editor
Gutenberg uses blocks for everything—paragraphs, headings, images, lists. A few habits to build right away:
- Break up your posts with H2 and H3 headings for readability and SEO.
- Add a featured image to each post—this shows up in listings and on social media.
- Keep paragraphs short, two to four sentences tops.
- Use bullet points or numbered lists for steps, tips, or comparisons.
Grow Traffic and Monetize Your Blog
Publishing alone won’t bring traffic or money. You’ll need to put in consistent work and focus on what matters. The good news? All the setup you just did actually lays the groundwork for growth.
On-Page SEO and Content Foundations
On-page SEO is about making each post easy for search engines to understand and rank. Here’s what’s essential:
- Put your target keyword in the title, intro, at least one H2 or H3, and the meta description.
- Write with a specific search intent in mind—think about what your reader wants: info, a comparison, or step-by-step help?
- Once you’ve got five posts, start linking between them internally.
- After your first few posts, submit your sitemap to Google Search Console.
Audience Growth and Email Capture
Google Search Console tells you which searches bring visitors and which posts are getting seen. Check it every week after your site’s indexed.
Start building your email list from day one. That way, you always have a direct line to your readers, no matter what happens with algorithms. Drop opt-in forms in your sidebar, after posts, and maybe on a landing page. Tools like Constant Contact make sending newsletters and welcome emails straightforward.
Sharing your posts on social and repurposing them for platforms where your audience hangs out can help you get some early traction before SEO fully kicks in.
Ways to Monetize Your Blog
Here’s a quick look at some common monetization methods:
| Method | When to Start | Revenue Potential |
|---|---|---|
| Affiliate marketing | Early (even with low traffic) | Medium to high |
| Display ads (Google AdSense) | Once traffic grows | Low to medium |
| Sponsored posts | After building audience | Medium to high |
| Digital products | Any stage | High |
| WooCommerce (physical or digital) | Any stage | Variable |
Affiliate marketing usually gives the best bang for your buck when you’re just starting out. Write honest, specific posts about products in your niche and add affiliate links where it makes sense. Display ads (like AdSense) are easy to set up but won’t pay much until you have real traffic. According to this WordPress monetization breakdown, mixing affiliate marketing, ads, and digital products is the most reliable way to build income.
Understand Costs and Keep Your Site Maintained
Knowing what you’ll spend before you launch saves you from surprises and helps you figure out what’s worth paying for now and what can wait.
How Much It Costs to Launch
Here’s what you’ll probably spend to start a self-hosted WordPress blog:
| Item | Typical Cost |
|---|---|
| Domain name | $10–$20/year |
| Shared hosting (entry tier) | $3–$10/month |
| WordPress software | Free |
| Starter theme (free option) | Free |
| Essential plugins (free versions) | Free |
Based on this detailed blog cost breakdown, you can realistically launch for under $100 in your first year if you stick with shared hosting and free tools. If you want a premium theme, paid plugins, or managed hosting, expect the price to go up quite a bit.
Ongoing Expenses to Expect
After your first year, here’s what you’ll need to budget for:
- Domain renewal: $15–$20 per year
- Hosting renewal: Intro deals end, so prices usually double after year one
- Premium plugins/themes: Annual licenses run $30 to $200+ per tool
- Email marketing platform: Free plans exist, but paid ones start around $10–$20/month as your list grows
Always check renewal pricing—not just the intro rate—when you’re picking a host.
Updates, Backups, and Routine Maintenance
WordPress, themes, and plugins get updates all the time. Log into your dashboard at least weekly to run updates. Outdated stuff is the #1 way hackers get in.
Before you update WordPress core, run a full backup. UpdraftPlus lets you do this with one click. Always store backups off your hosting server, just to be safe.
Check Google Search Console every month for crawl errors or weird traffic drops that might point to a technical issue.
Frequently Asked Questions
What are the steps to set up WordPress on a hosting account from scratch?
First, grab a hosting plan and register your domain. Most hosts toss in a one-click installer—usually hiding in cPanel or their custom dashboard—so you don’t have to mess with files or code.
After you hit install, log in at yourdomain.com/wp-admin/. Set your site title, permalinks, and time zone before you start picking a theme or adding plugins.
Which WordPress hosting provider is best for beginners, and how do you choose between them?
Honestly, Bluehost and Hostinger are the top picks if you’re just starting out. They both handle WordPress installs for you, keep costs pretty low at first, and throw in a domain name.
If you want solid 24/7 support, Bluehost’s got your back. If you’re watching your wallet, Hostinger usually comes in cheapest—at least as of 2026.
How do you install WordPress automatically using a hosting control panel (like cPanel or a custom dashboard)?
Just log in to your hosting account and look for the WordPress installer. You’ll usually find it under “Website,” “Apps,” or maybe “Softaculous” in cPanel.
Pick your domain, set up your admin username and password, then hit install. You’ll have WordPress running in about two minutes. Some hosts even set everything up for you during signup, so you barely have to lift a finger.
Can you start a WordPress blog for free, and what are the trade-offs compared to paid hosting?
Yep, you can launch a blog for free on WordPress.com. The catch? They slap their branding on your site, keep plugins locked down, and you won’t have much freedom to make money from it.
Going self-hosted only costs around $3 to $5 a month. That gets you full control, every plugin you want, and the freedom to monetize however you like.
How do you set up WordPress locally on your computer for development and testing?
Download a local server tool like LocalWP, XAMPP, or MAMP. These let you run a fake web server on your computer, so you can install WordPress, mess around with pages, or try out plugins without risking your real site.
When you’re happy with your local build, move it to your live hosting account using a plugin like Duplicator or All-in-One WP Migration. It’s honestly way less scary than it sounds.
What’s the best way to migrate a site from Wix or Webflow to a self-hosted WordPress blog?
Honestly, there’s no magic button for moving a site from Wix or Webflow straight into WordPress. You’ll usually need to export your content—like blog posts and images—manually or use whatever export options those platforms offer.
After that, you can import everything into WordPress using the built-in Importer tool under Tools > Import. If your site’s on the bigger side or has a lot of moving parts, you might find that hiring a migration service or just rebuilding each page manually is actually faster—and less of a headache—than trying to automate the whole thing.

Author: Sintugau
Louis is a web hosting expert with over 5 years of experience reviewing and testing hosting providers. He helps users find the best hosting solutions for their needs.